Topics
Introduction to ICT
Creating Textual Communication
- Purpose of Creating Textual Documents
- Word Processor Basics
- Keyboard Functions
- Creating and Formatting a Document
- Saving and Opening Documents
- Text Formatting
- Error Detection Tools
- Cut, Copy and Paste
- Bullets and Numbering
- Tables in LibreOffice
- Inserting Images in LibreOffice
- Headers and Footers
- Print Preview and Printing
- Protecting Documents
Creating Visual Communication
Creating Audio-Video Communication
Presenting Ideas
Getting Connected: Internet
Safety and Security in the Cyber World
Fun with Logic
Importing Media and Adding to Timeline
1. OpenShot Interface
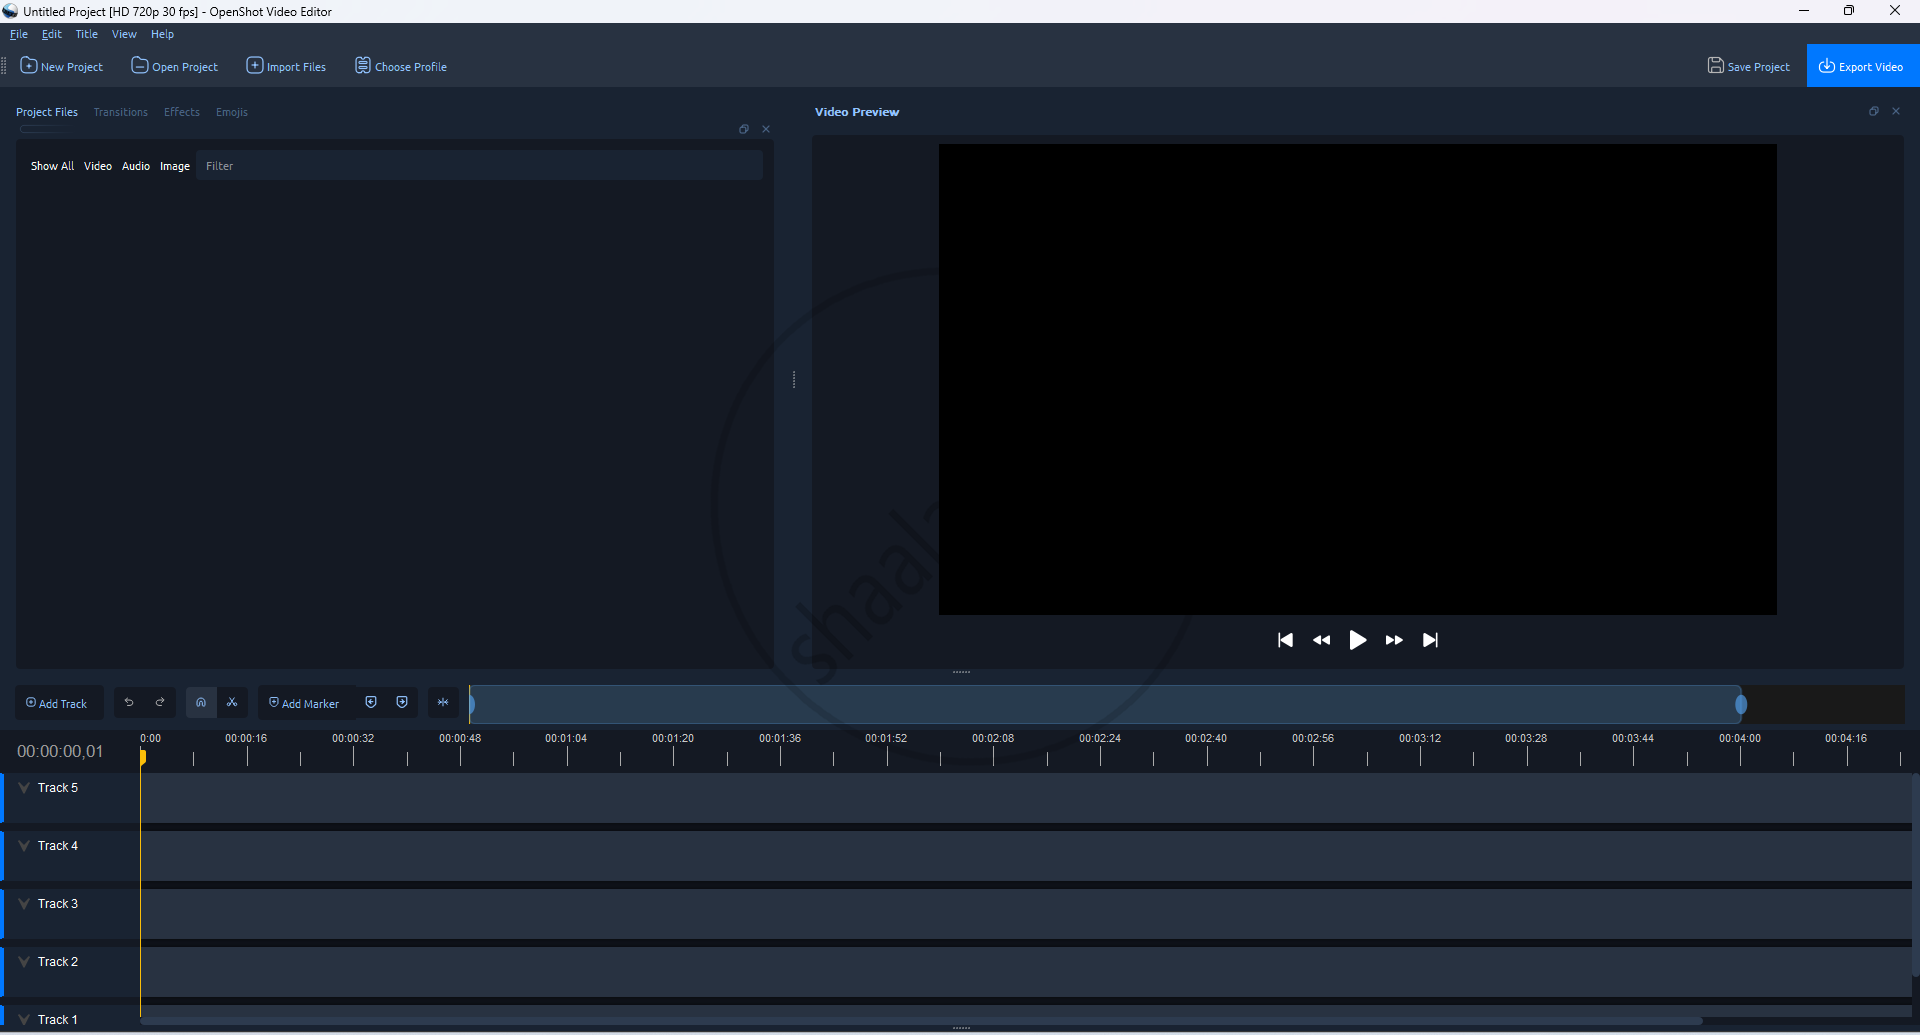
- Video Preview Area : Displays a live preview of the video as you edit it.
- Timeline Area : "Track 1" Here, users can assemble their project by dragging and dropping video clips, images, audio, transitions, and effects.
- Resources Area : This section is where you import and manage your media files: video, audio, and images.
- Control Area : Play, Pause, Stop, etc.
2. Importing files (Method 1)

Step 1: Click on File Menu → Import Files Used to add videos, music, or pictures from your computer.
3. Importing files (Method 2)

Step 1: On Top bar there is "+" sign Symbol Click on the + sign; a file browser window will open. Find and select all the images (or other media).
Step 2: After selecting the files, click the Open button. The images will appear in the Project Files area of OpenShot.
4. Adding images on the timeline (Method 1)

Step 1: In the Project Files area on the left, imported images are listed in the above image.
Step 2: Click on image at a time to select it.
Step 3: Drag the image with the mouse and drop it in one of the tracks (Track 1 or Track 2) in the timeline editor at the bottom.
Step 4: The image is part of the video project and will appear in the preview.
5. (A) Adding images on the timeline (Method 2)

Step 1: Go to the project files area where images are listed above in image.
Step 2: Right-click on the image that the user wants to add (click using the right mouse button).
Step 3: Click on "Add to Timeline" from the list of options.
Step 4: The image will now be added to the video timeline.
6. (B) Adding images on the timeline (Method 2)
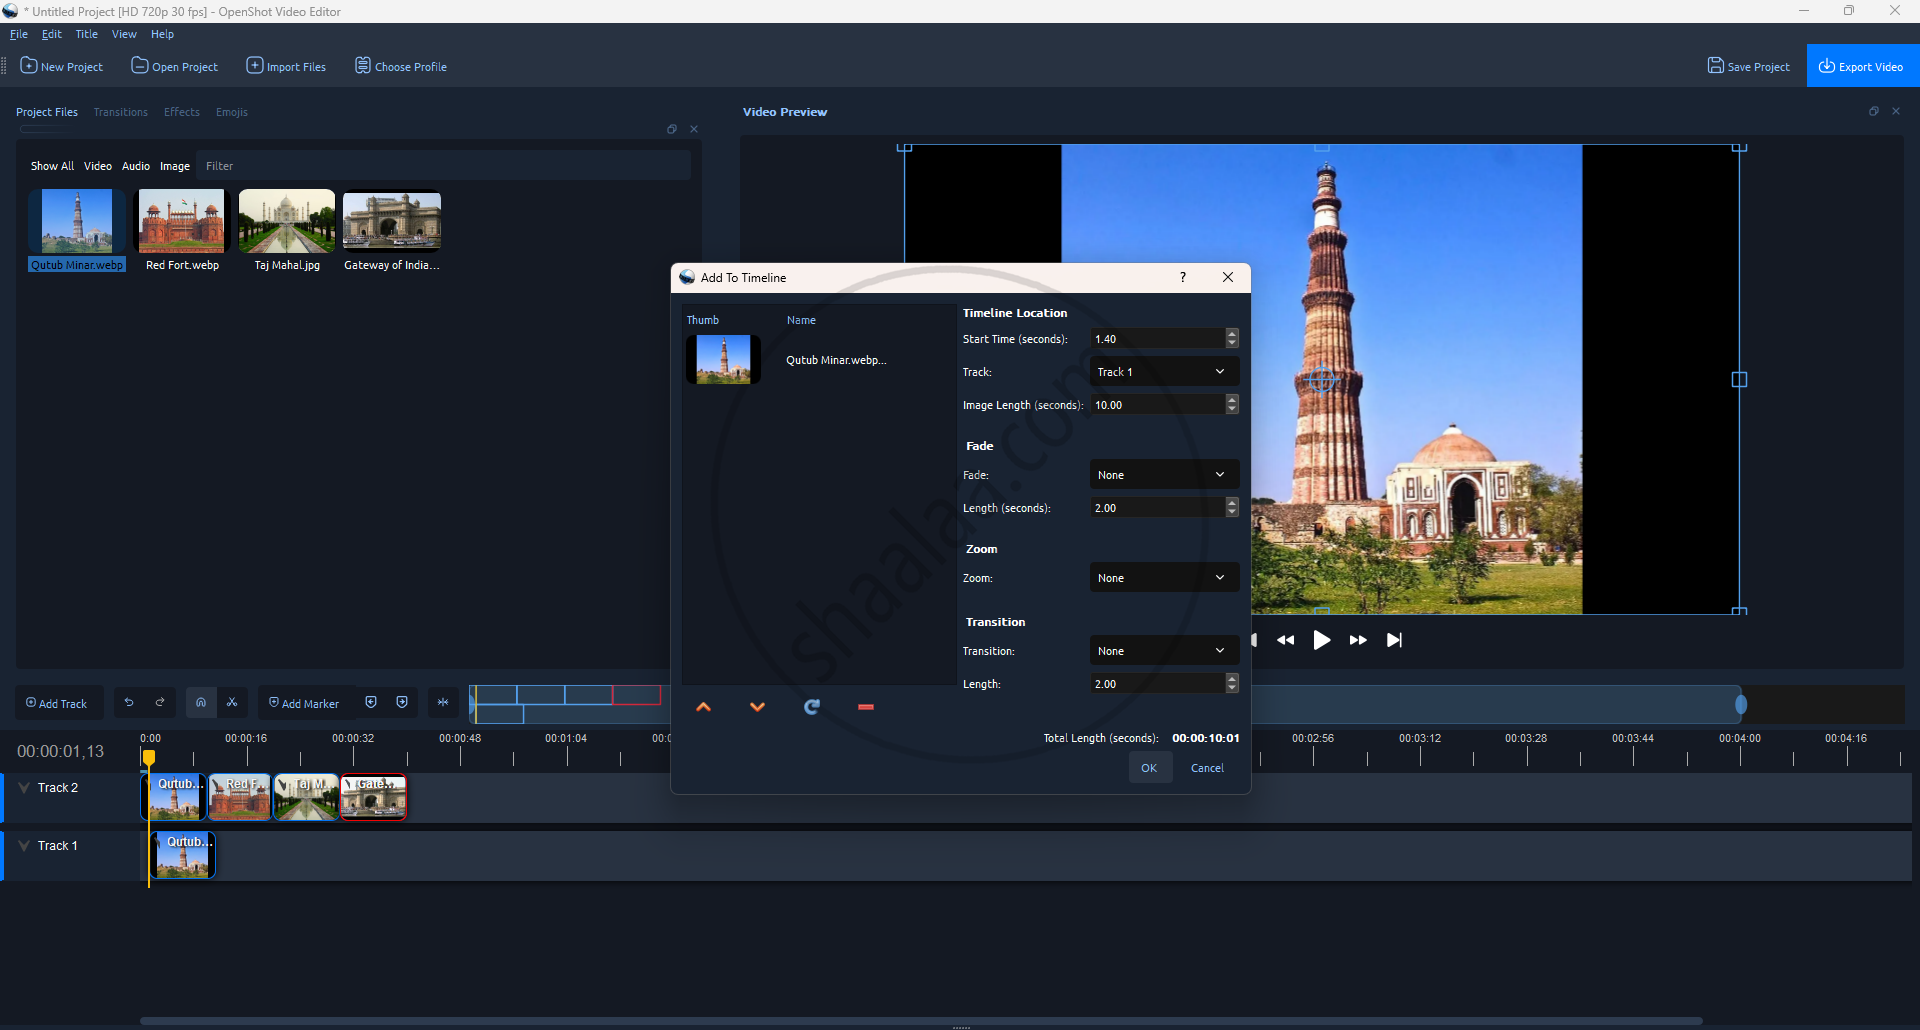
Step 1: Set the start time when the image should appear in your video.
Step 2: Choose the track, like Track 1 or Track 2, where the image will be placed.
Step 3: Add a fade effect if you want the image to fade in or out.
Step 4: Add a transition to make the image appear with a smooth effect.
Step 5: Click the "OK" button at the bottom right.
7. Adding sound to the timeline
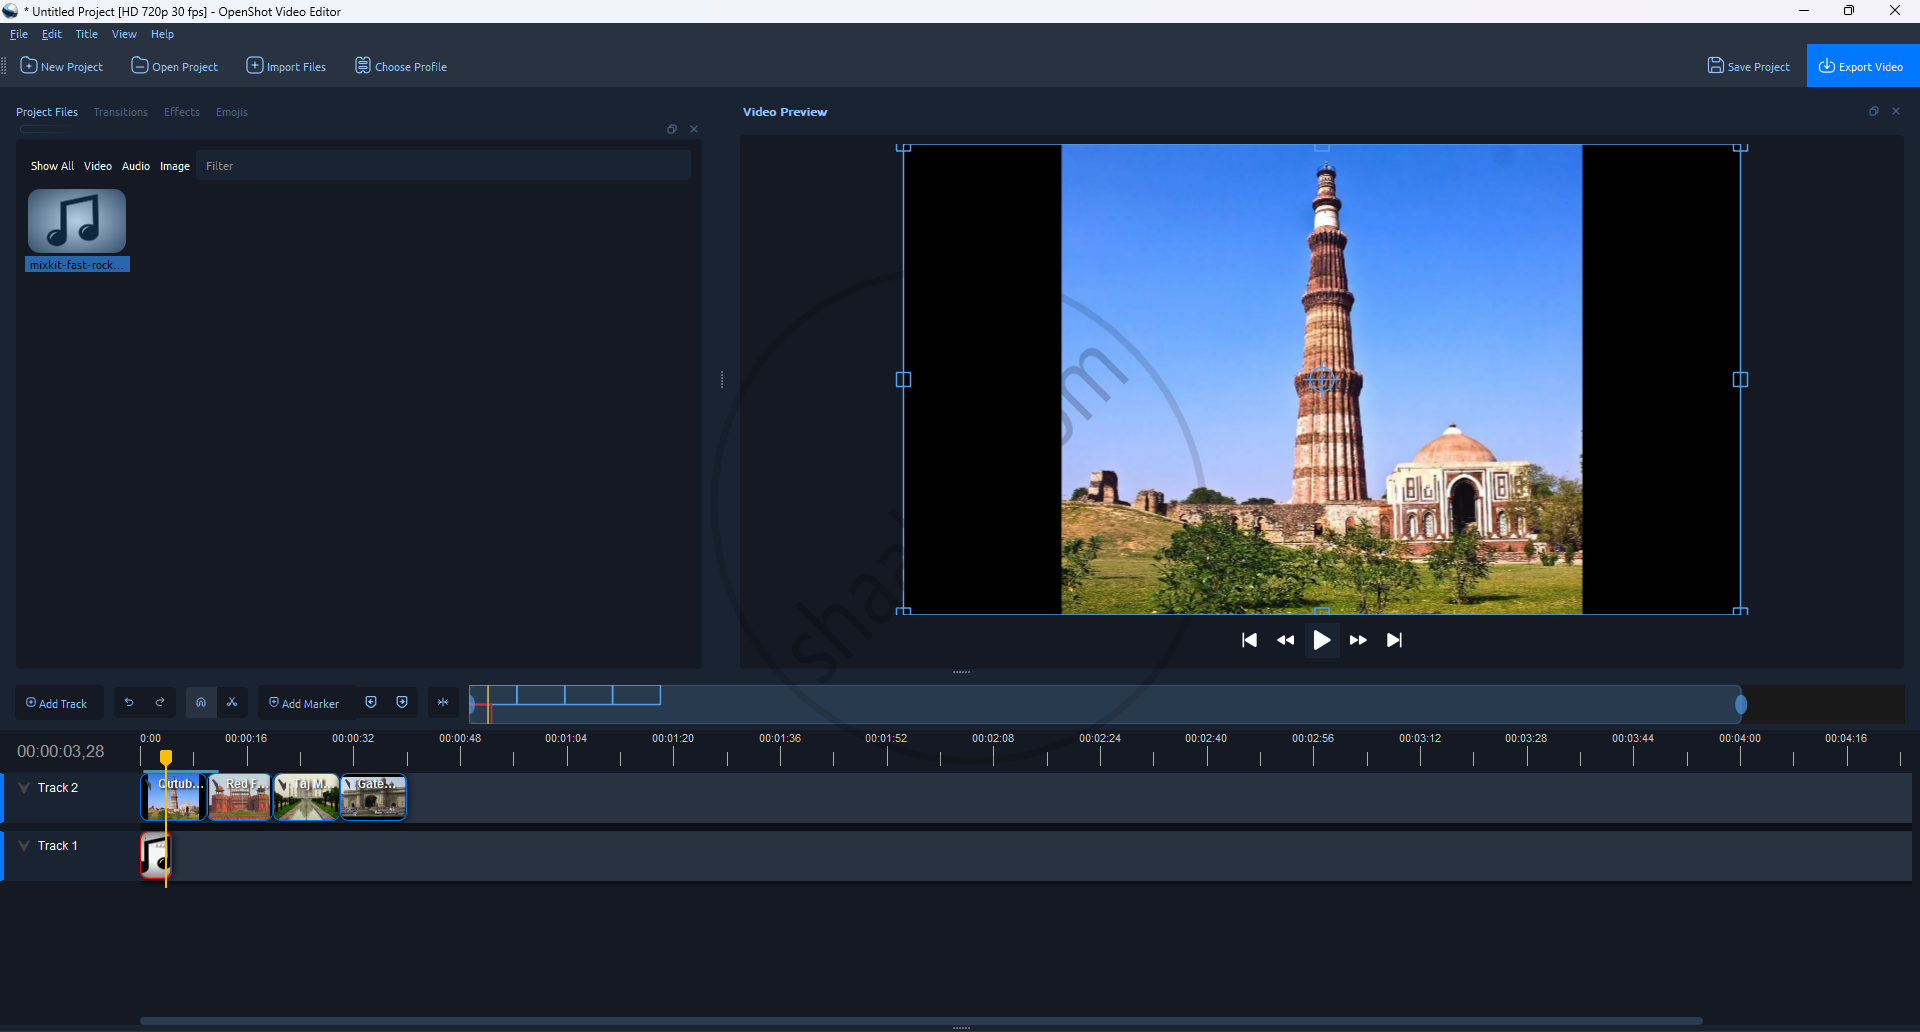
Step 1: Go to the Project Files area on the left.
Step 2: Find and select the audio file.
Step 3: Drag the audio file using your mouse.
Step 4: Drop it into "Track 1" of the timeline at the bottom.
Step 5: Background music is now added to the video.
