Topics
Introduction to ICT
Creating Textual Communication
- Purpose of Creating Textual Documents
- Word Processor Basics
- Keyboard Functions
- Creating and Formatting a Document
- Saving and Opening Documents
- Text Formatting
- Error Detection Tools
- Cut, Copy and Paste
- Bullets and Numbering
- Tables in LibreOffice
- Inserting Images in LibreOffice
- Headers and Footers
- Print Preview and Printing
- Protecting Documents
Creating Visual Communication
Creating Audio-Video Communication
Presenting Ideas
Getting Connected: Internet
Safety and Security in the Cyber World
Fun with Logic
Adding Content and Media to Slides
1. Impress Interface

a. Main Content: The main slide in the center is blank, with two text boxes.
- One says, "Click to add Title," meant for the slide’s main heading.
- The other says, "Click to add text," meant for the slide’s content or body text.
b. Top Menu Bar
- The user has opened the "File" menu from the top left.
- New → Create a new file (the submenu is expanded and shows options like Text Document, Spreadsheet, Drawing, etc.)
- Open, Save, Save As, Export, Print, Exit, etc.
c. Left Sidebar
-
This sidebar shows application icons; it's part of the Ubuntu Linux operating system interface.
2. Choosing the slide layout

Step 1: Go to Top bar menu the top bar menu has options like File, Edit, View, Insert, Format, Slide, Slide Show, Tools, Window, Help.
Step 2: Click on Slide → layout Select the required layout from the options like Blank Slide, Title Only, Title Slide, Title and Content, etc. Select any one.
Step 3: In the background the selected layout will appear For example: Title Only
as shown in image.
3. The Title Slide

The main slide displayed in the center has the title "Historical Place of Delhi." it is a workspace where User can add edit content according to the requirement.
4. Adding Text Content

Step 1: To add a new Slide Click on Slide → New Slide from the top menu. or press Ctrl + M as a shortcut.
Step 2: On the right-side panel, under "Layouts," choose a layout with text boxes (like a blank page).
Step 3: On Blank Page Click F2 key for textarea where users can type the content.
5. Inserting an Image
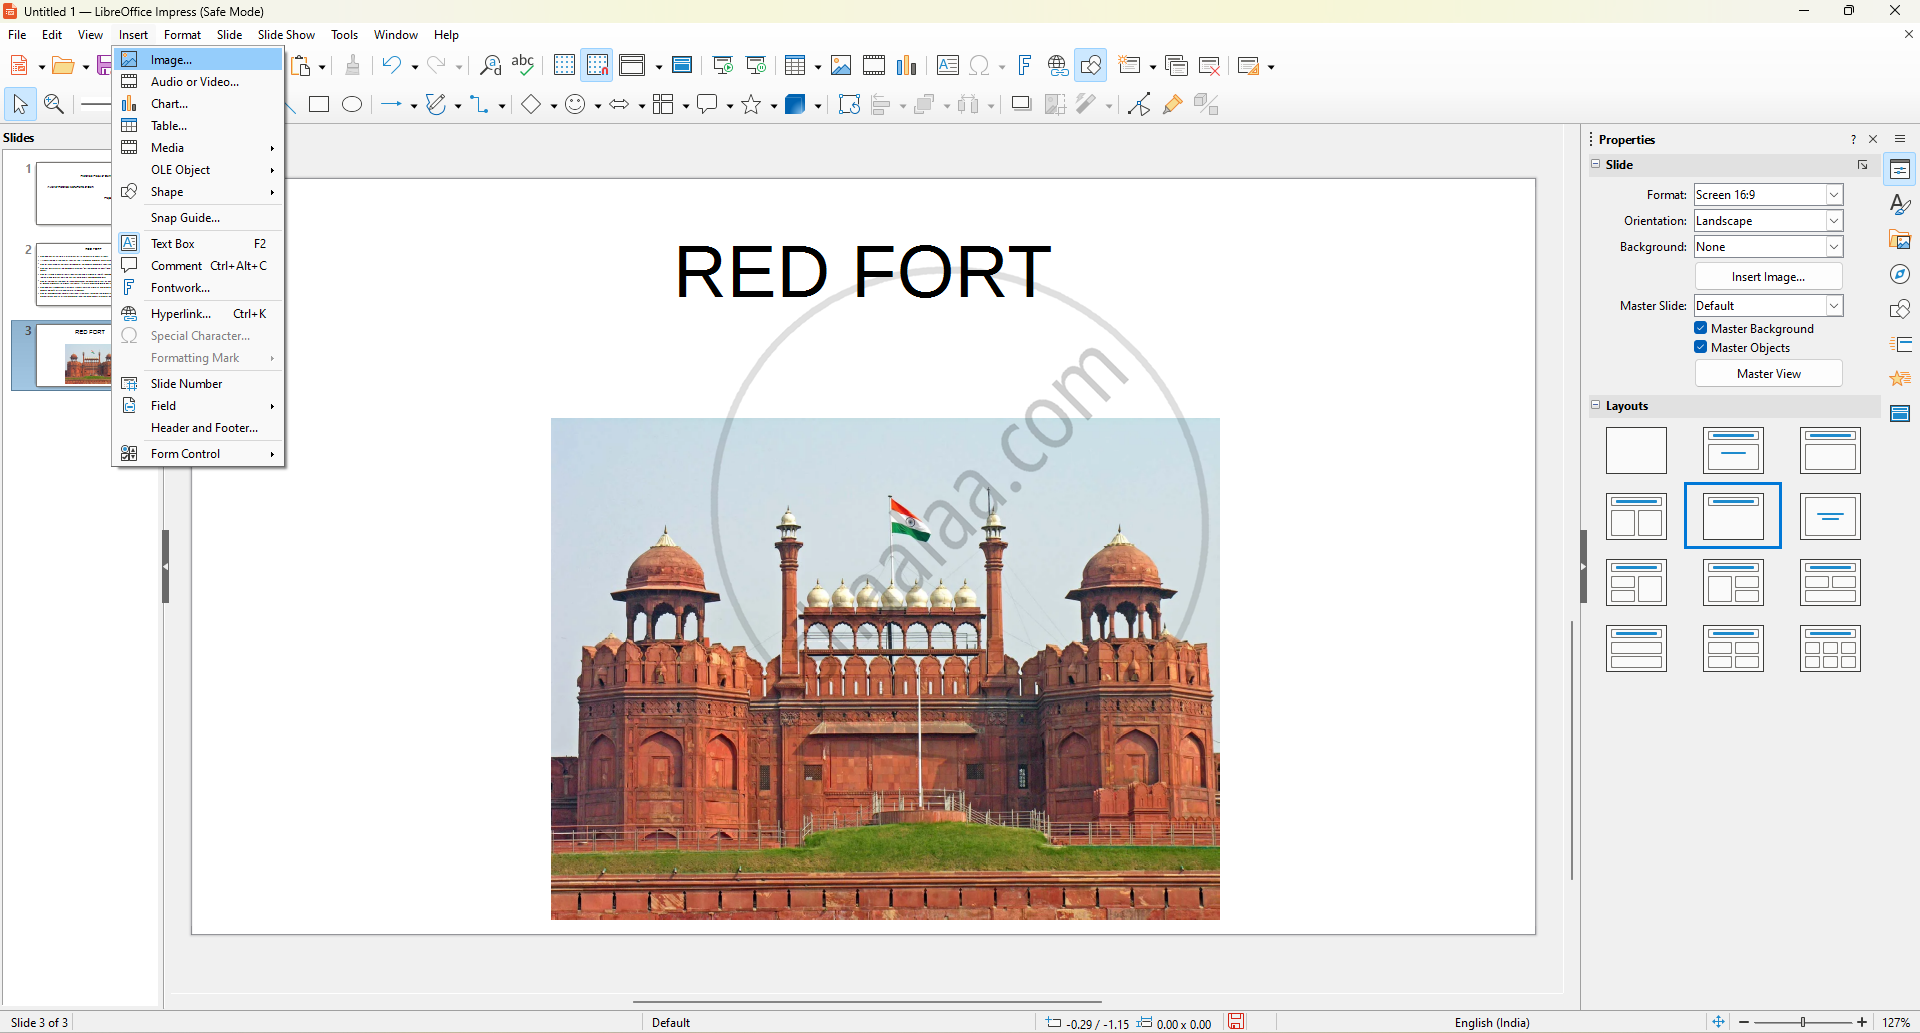
Step 1: At the top menu bar, click on Insert. In the dropdown, select Image from the list.
Step 2: Browse and Select the File Click on the desired image file (like the Red Fort image shown).
Step 3: Click 'Open.' The image will be added to the slide.
6. Animating the image :

Step 1: Click on the object (e.g., text or image) that you want to animate. In this image, the text "RED FORT" is selected.
Step 2: Go to the top menu and click on Slide Show. Then select Custom Animation from the dropdown.
Step 3: The animation panel will appear on the right side. Click "Add" and choose a suitable animation effect (e.g., appear, fade in, fly in, etc.) can adjust timing, speed, direction.
