Topics
Introduction to ICT
Creating Textual Communication
- Purpose of Creating Textual Documents
- Word Processor Basics
- Keyboard Functions
- Creating and Formatting a Document
- Saving and Opening Documents
- Text Formatting
- Error Detection Tools
- Cut, Copy and Paste
- Bullets and Numbering
- Tables in LibreOffice
- Inserting Images in LibreOffice
- Headers and Footers
- Print Preview and Printing
- Protecting Documents
Creating Visual Communication
Creating Audio-Video Communication
Presenting Ideas
Getting Connected: Internet
Safety and Security in the Cyber World
Fun with Logic
Steps to Record and Edit Audio in Audacity
1. Getting Started
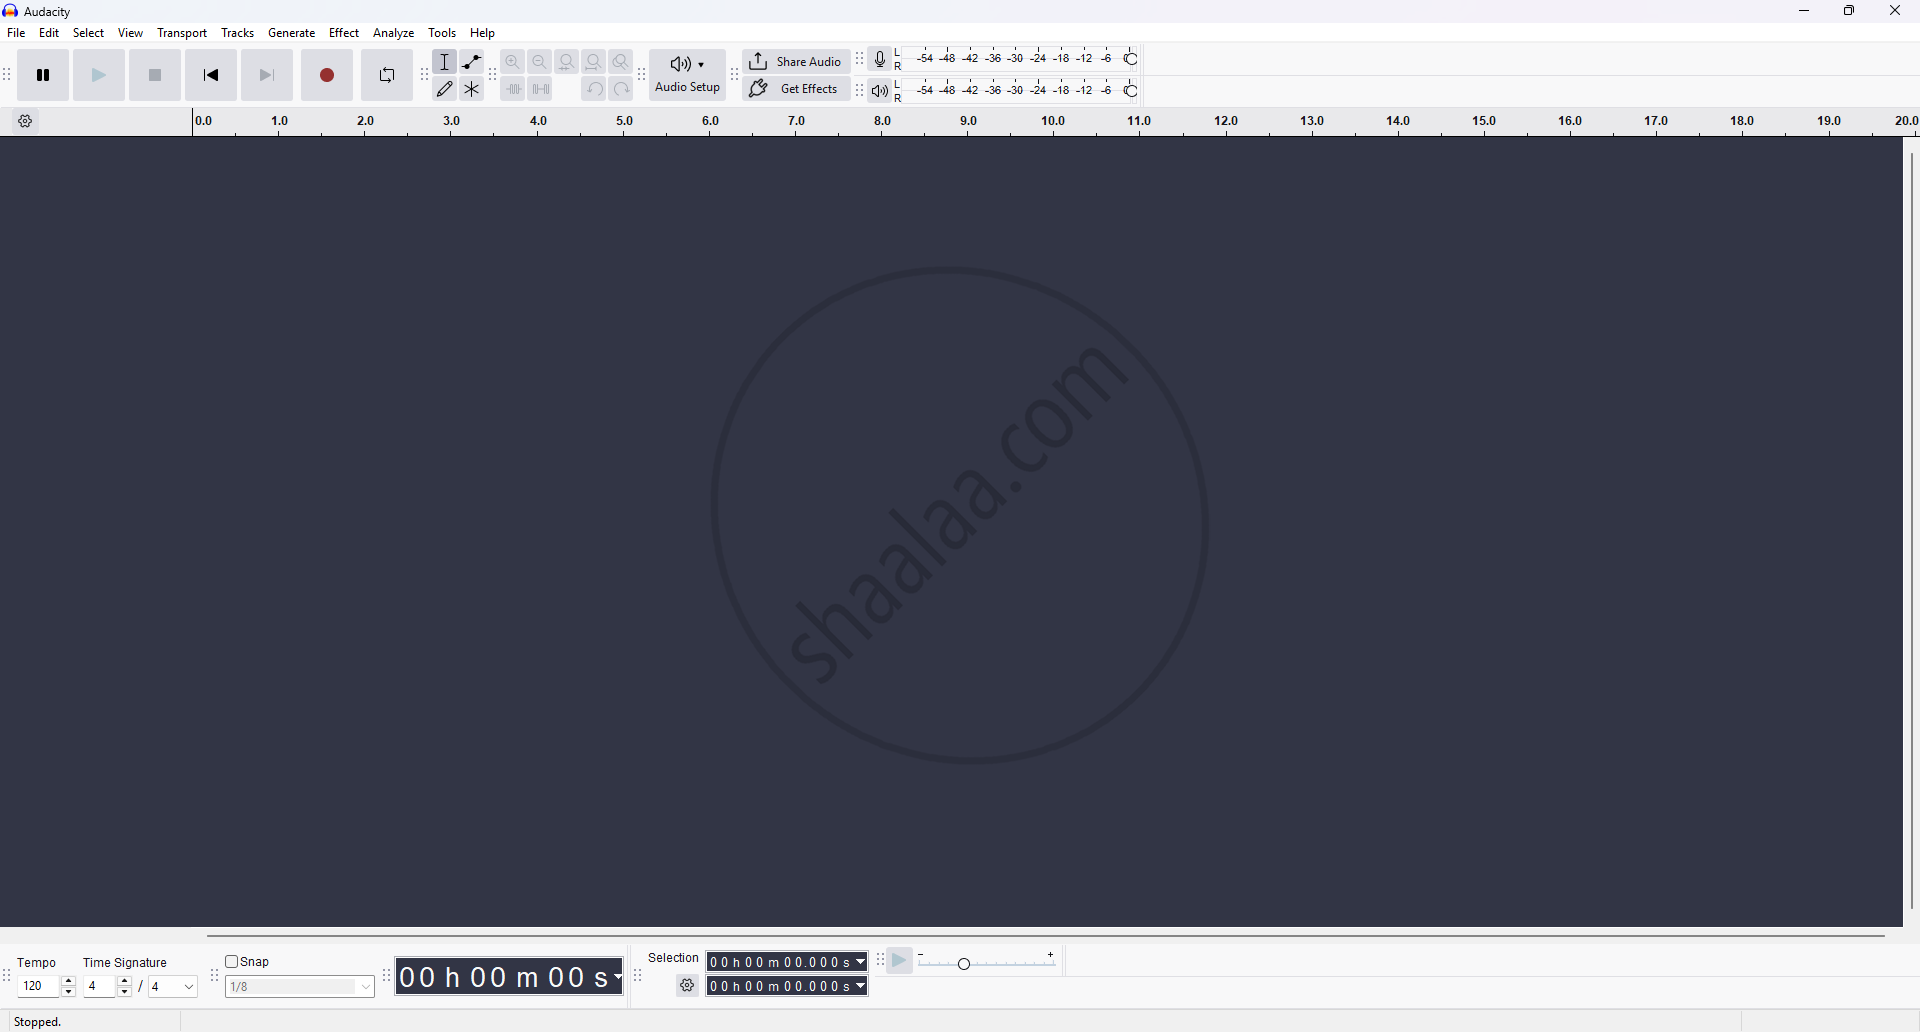
Step 1: Open Audacity and create a new project by click on File Menu → New.
Step 2: A new window will appear where tracks can be created.
2. Adding a New Track :

Step 1: Click on Track → Select track
- Mono Track: Adds a single-channel audio track.
- Stereo Track: Adds a dual-channel audio track.
- Label Track: Used for adding textual labels at points in the audio.
- Time Track: Allows variable speed/time control over parts of the project.
3. Recording a Track :
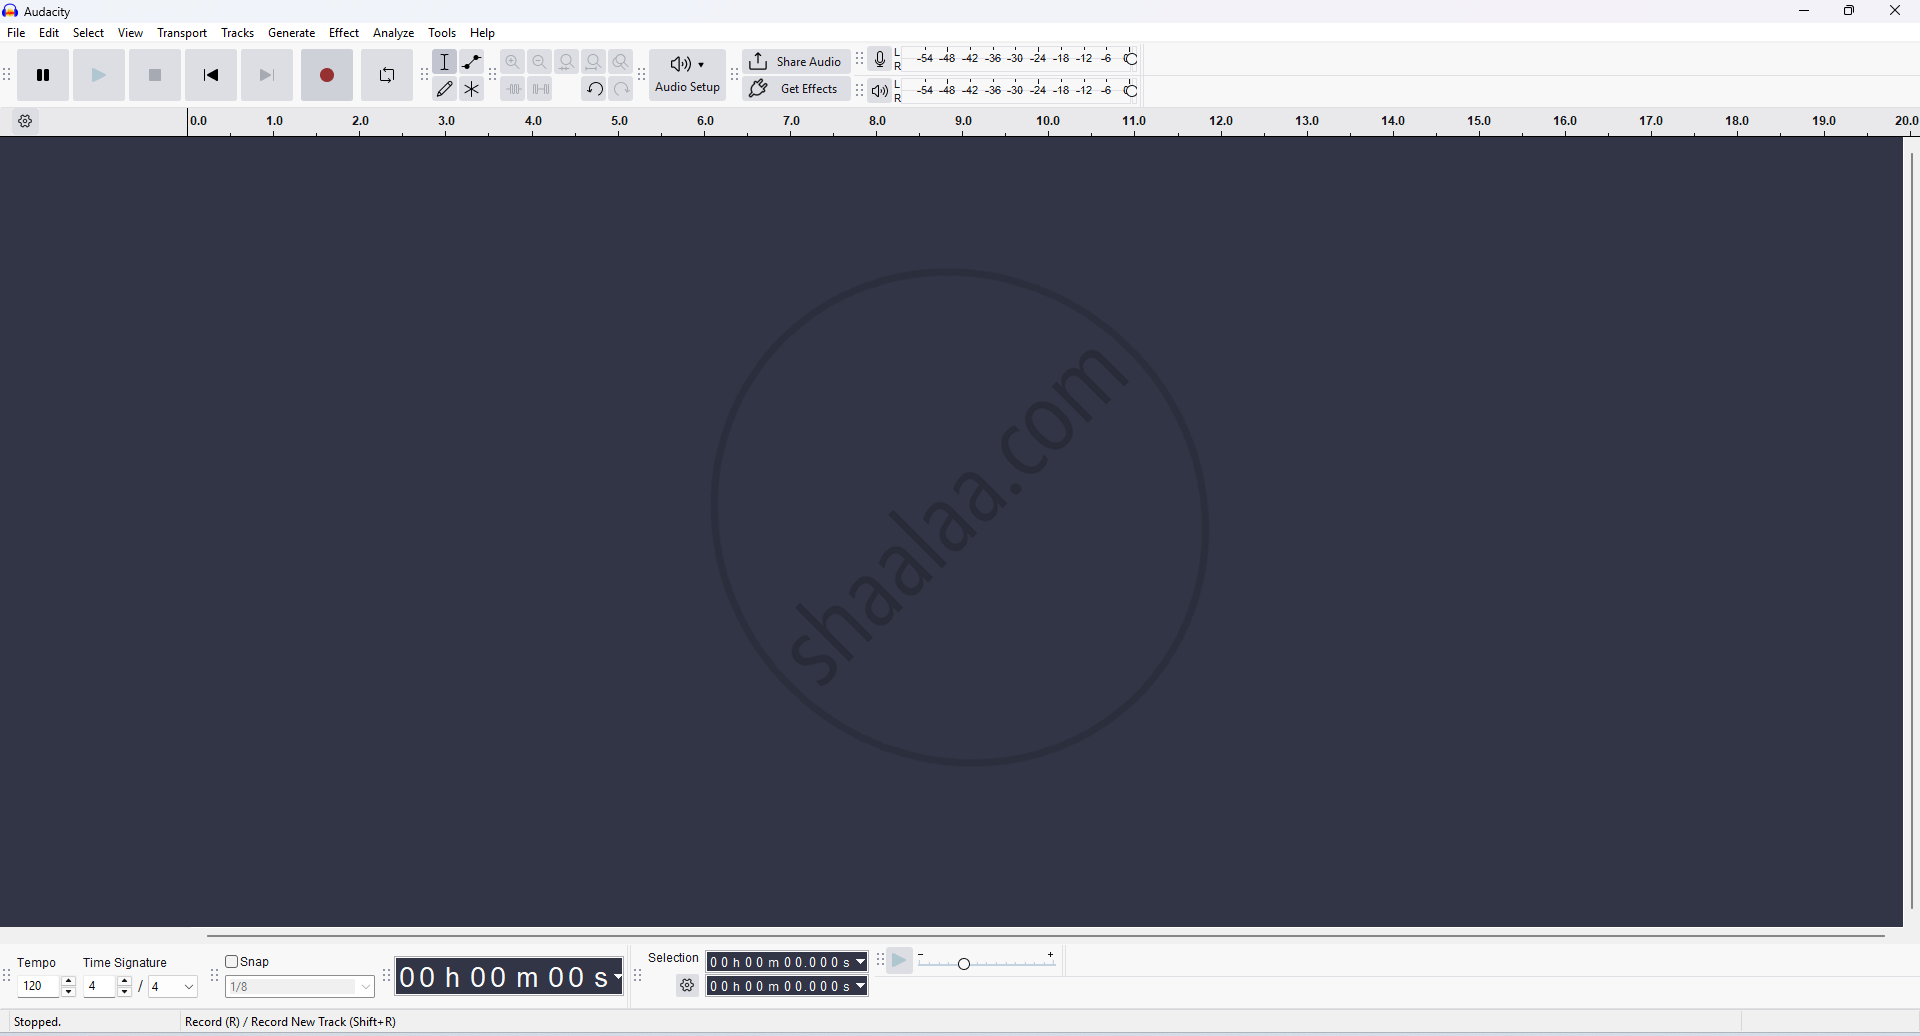
Step 1: After Selecting the Track Option Start recording by clicking the red recording button; press the stop button or space bar to finish. Additional tracks can be added in the same manner.
4. Editing the track
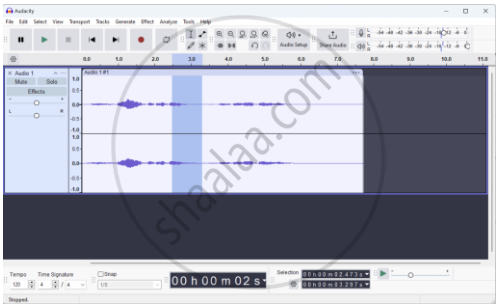
Step 1: Removing Unwanted Sounds:
- After recording, edit the audio to remove disturbances like coughs, fumbles, or repeated sentences.
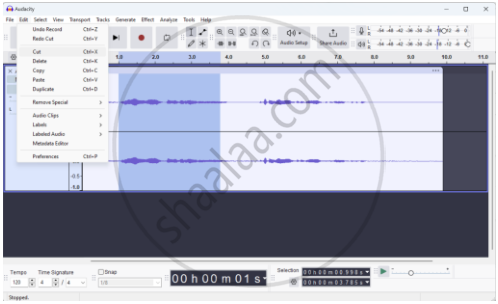
- Use the selection tool to highlight the portion of audio to be removed.
- Press the Delete key or go to Edit → Delete to remove the highlighted portion.
Step 2: Adding Music and Sound Effects:
- Add a New Track: Use Tracks → Add New → Stereo Track.
- Import Audio File: Go to File → Import → Audio, then choose a music or sound effect file from your computer.
- The imported file appears in the new track, allowing for further mixing and positioning.
5. Mixing of Tracks :
Step 1: Mix the different audio tracks using the Tracks Menu option in Audacity.
- Adjust and blend the tracks to create a cohesive audio resource.
- The software will automatically mix narration and other soundtracks, creating a cohesive audio file.
6. Saving the Audio File:
- Save the audio file in the default .aup format (Audacity Project), which is editable. Click on File → Save project; the audio will be saved.
- Always save your work frequently to prevent data loss.
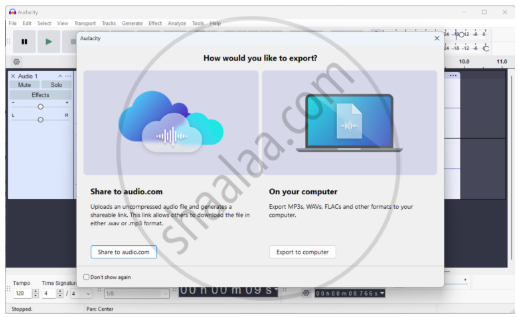
7. Exporting Audio :
Step 1: Convert the file to a suitable format like .mp3 or .ogg using the Export option.
This step is necessary to incorporate the audio into presentations or other multimedia projects.
